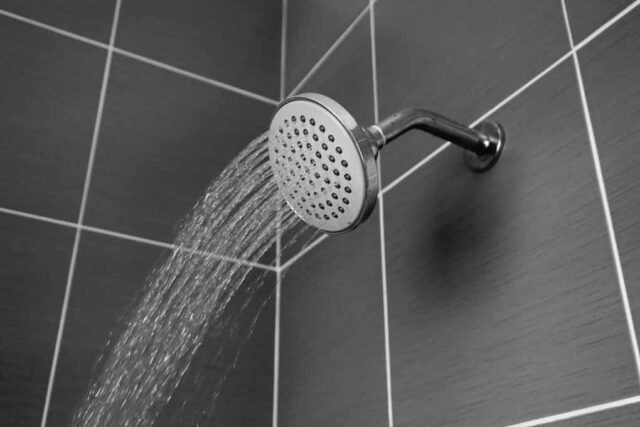
There may come a time when your shower head just doesn’t cut it anymore. Installing a new wall mounted shower head only requires a few simple tools and a little bit of effort. Do the prep work for installation by turning off the water supply and preparing your work area. Remove the old shower head, then seal the pipe threading with Teflon tape and screw on the new head. Select the right shower head by finding a suitable one through online sellers and by prioritizing metal materials, like chrome and brass.
Contents
Gather your supplies:
The shower arm that comes out of the wall and connects to the shower head can be replaced if necessary. Most shower heads are sold separately from arms, though both can be found at a hardware store, along with the following needed tools and supplies:
- Pipe wrench
- Thread seal tape (Teflon tape)
- Towels (at least 2)
Make sure the faucet is off:
Though it may seem obvious, make sure the faucet for the shower is completely turned off. There’s no need to shut off the water valve itself—there won’t be water going to the shower head as long as the faucet is off.
Prepare your work area:
Close the drain to your shower. This will prevent dropped fasteners and other small pieces of hardware from being lost down the drain. Lay down a towel over the closed drain so that anything that falls doesn’t bounce off the floor or tub, but instead is cushioned by the towel.
Remove the shower arm, if desired:
Removing the shower arm is not necessary for installing a wall-mounted shower head. However, in some situations, the original shower arm might not suit changes in bathroom décor, or it might simply be time for an upgrade. To remove the shower arm.
Use your bare hands to loosen the shower arm by turning it counterclockwise. If it’s corroded, spray WD-40 onto the threaded connection and let it sit for a few minutes before loosening it. Apply an adjustable wrench or pipe wrench to the shower arm if it refuses to turn by hand. Use moderate, steady, counterclockwise force until the arm comes free.
Insert the replacement shower arm by turning it clockwise into the fitting. If you replace the shower arm, you should also replace the trim ring (also known as an escutcheon). Though it’s held in place with caulk, you should be able to slip it off.
Remove the shower head:
If you plan on keeping your current shower arm, wrap a dry, clean towel around the base of the arm where it meets the wall. Grip the arm at this point with your wrench so the towel protects the arm from damage. Hold the arm in place with the wrench and unscrew the head counterclockwise by hand. For stubborn shower heads, wrap the head in a clean cloth to protect the metal’s finish. Grip and turn the head with a suitable wrench, pair of channel locks, or pair of pliers with firm, steady pressure until the head comes loose


