
When someone searches for a screen recorder for Windows 10, they probably have one of two intentions in mind. On a Windows 10 computer, users are looking for an application that will let them record their screen or try to figure out how to accomplish it.
On a Windows 10 computer, the user is probably seeking a specific program that they can download and install if they want to be able to record their screen. They might also be searching for a particular kind of screen recording program, such as one that is cost-free or comes with a particular set of capabilities.
Users are interested in learning how to do this and may search for straightforward guidelines on recording their screen on a Windows 10 computer. They can also look for detailed instructions on completing this work using a certain program or approach.
Tips for Windows 10 Screen Recording
-
Contents
How to record your laptop’s screen
You must do a few steps before recording your laptop’s screen. Ensure that your laptop is powered on and the battery has enough juice. Software for recording your screen will also need to be downloaded and installed.
Once everything is ready, you may begin screen recording. Open the screen recording program, then select “Record” from the menu. Next, choose the portion of the screen you wish to record using your mouse. To start recording after choosing the location, click the “Start” button.
Click “Stop” to stop recording after you’re done. The video file of your recording will then be stored.
-
Screen recording instructions
You may record your screen to create lessons, demo movies, or capture what you’re working on. The simplest way to capture your screen is to utilize screen recording software, although there are other methods.
Open the software after downloading and installing it, then select “Record” from the menu. After that, choose with your mouse the portion of the screen you want to record. After choosing the location, press the “Start” button to start the recording.
Click the “Stop” button after you are done recording. After that, a video file of your recording will be stored.
-
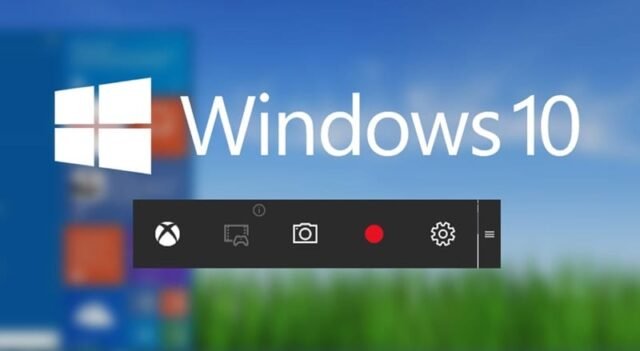
How can you record your Windows 10 screen without any software?
There is a screen recording feature incorporated into Windows 10’s Game Bar. You can record your screen with this tool without downloading and installing any other software.
Go to the start menu and enter “Xbox Game Bar” to open the Game Bar. Once the Game Bar has opened, click the “Start Recording” option. Next, using your mouse, choose the portion of the screen you want to record. Once you’ve selected a location, click “Start” to start recording.
Press “Stop” to stop recording after you’re done. Your footage will then be stored as a video file
-
How users of Windows 10 can record their screens without the game bar?
Even if you don’t want to use the Game Bar, you can still record your screen in Windows 10. To accomplish this, you must first download and install screen recording software.
After you’ve downloaded and installed the software, launch it and select “Record.” Next, using your mouse, Choose the screen region to record. After selecting a location, click the “Start” button to begin recording.
When you finish, click “Stop” to end the recording. Windows will then save your recording’s video file.